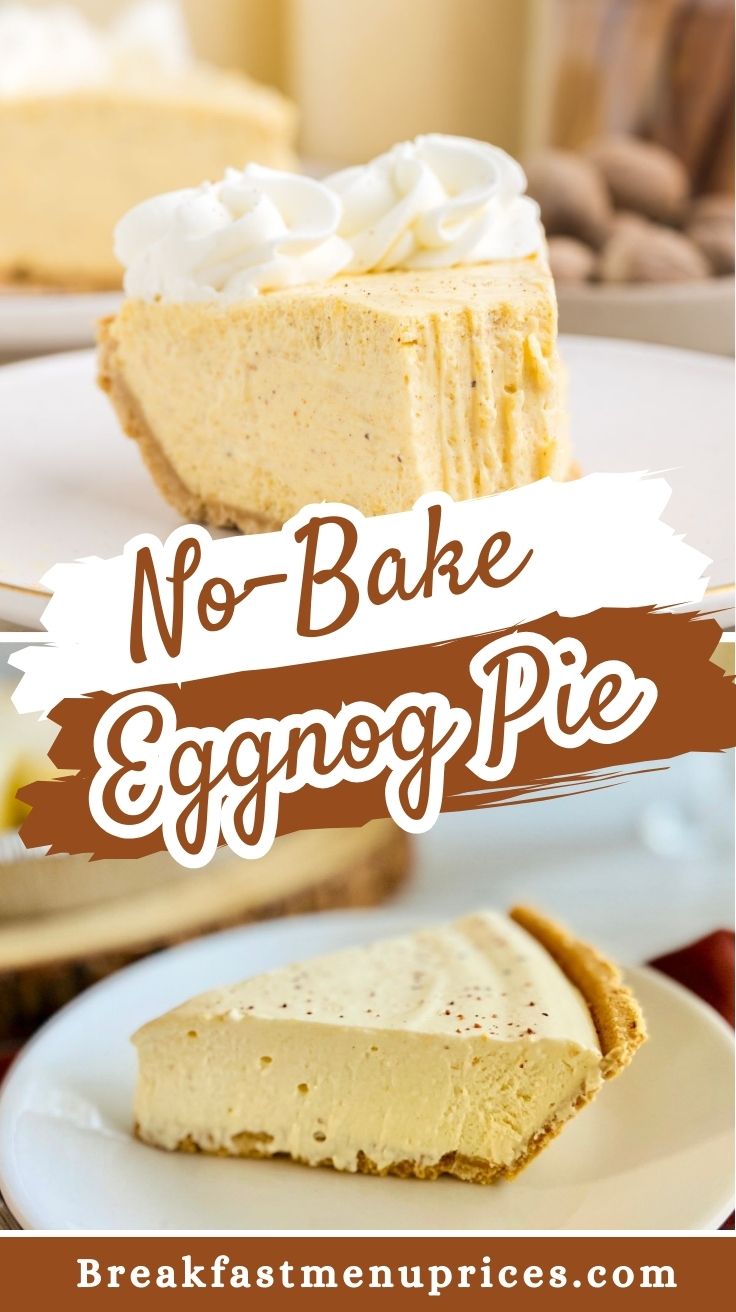
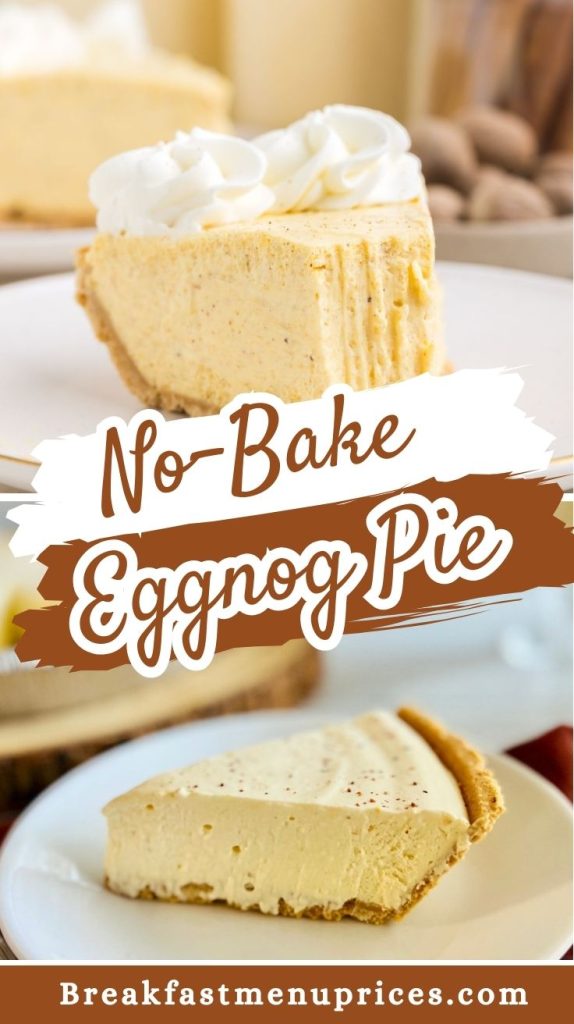
If you’re anything like me, when the holiday season rolls around, you can’t resist treating yourself to something indulgently festive. Then I discovered the No-Bake Eggnog Pie recipe, and wow, it’s game-changing! I made this pie on a whim to satisfy my love for creamy eggnog without the hassle of turning on my oven.
With just a handful of ingredients and minimal effort, I whipped up a dessert that had everyone at my holiday dinner table raving for seconds. The best part? No baking involved! I honestly might make this pie multiple times before the eggnog season ends. 🎄🎁
And hey, if you’re like me and happen to crave eggnog year-round, now there’s no excuse not to! This recipe is easy, delicious, and truly feels like a slice of Christmas on a plate.
Why You’ll Love This Recipe?
It’s No-Bake and Fuss-Free
Who doesn’t love a dessert that doesn’t involve turning on the oven? This recipe is as simple as mixing, pouring, and chilling! You can whip it up in no time, making it perfect for those busy holiday schedules. Whether you’re a pro in the kitchen or a beginner, this is a no-fail recipe anyone can master.
Customizable to Your Tastes
Whether you’re using classic eggnog, flavored versions, or sneaking in a splash of your favorite spirit, this pie lets you get creative. Want an adult twist with spiked eggnog? Go for it. Prefer a sugar-free version? You can easily adapt it. It’s versatile enough to suit everyone at your table.
A Crowd-Pleaser
Rich, creamy, and just the right amount of festive spices, this dessert practically screams “celebration.” Its smooth texture pairs perfectly with the crunch of the crust, creating a combo that’s hard to resist. Bonus? It looks just as impressive as it tastes! 🍰
Make-Ahead Friendly
There’s enough to do during holiday prep without worrying about dessert, right? Since this pie requires chilling, you can make it a day in advance, letting you focus on the main course while your dessert rests in the fridge.
Cooking Time
- Prep Time: 10 minutes
- Chilling Time: 4 hours
- Total Time: 4 hours 10 minutes
Ingredients
- Instant vanilla pudding mix
- Prepared eggnog
- Whipped topping (plus extra for garnish)
- Graham cracker pie crust
- Ground nutmeg for decoration
Variations and Equipment
Ingredient Alternatives
- Dairy-Free Version: Use almond or coconut milk-based nog and dairy-free whipped topping.
- Sugar-Free Option: Substitute sugar-free pudding mix and sugar-free whipped topping.
- Extra Flavor Boost: Sprinkle cinnamon or drizzle caramel sauce on top for some added depth.
- Adult Twist: Add a tablespoon of brandy or rum to the filling for a boozy kick.
Equipment You’ll Need
- Mixing Bowl – Perfect for combining the pudding mix and eggnog.
- Hand Mixer – Ensures a smooth and creamy filling.
- Spatula – For folding in whipped topping without deflating it.
- Pie Dish – If not using a store-bought crust, this is essential for shaping.
How to Make No-Bake Eggnog Pie?
Step 1: Whip Up the Filling 🥣
Start by grabbing a mixing bowl and your instant pudding mix. Combine the pudding mix and eggnog, whisking them together for about 2 minutes until the mixture thickens slightly. Don’t skimp on this step – it’s the foundation of your pie’s creamy filling! 😊
Step 2: Fold in the Whipped Topping 🥄
Next, gently fold in a cup of whipped topping. Using a spatula, mix it in without overworking, as you want to keep the filling light and airy. This step adds that dreamy, fluffy texture that’ll have everyone swooning with every bite.
Step 3: Assemble the Pie 🥧
Pour the finished filling into your graham cracker crust, spreading it evenly so the surface is smooth. Easy, right? Once it’s all in, take a moment to admire your handiwork.
Step 4: Chill and Set 🌟
Place the pie in the refrigerator and leave it to chill for at least 4 hours. This step is critical! The longer it chills, the firmer and more sliceable it’ll become. Resist the temptation to cut into it early – it’s worth the wait!
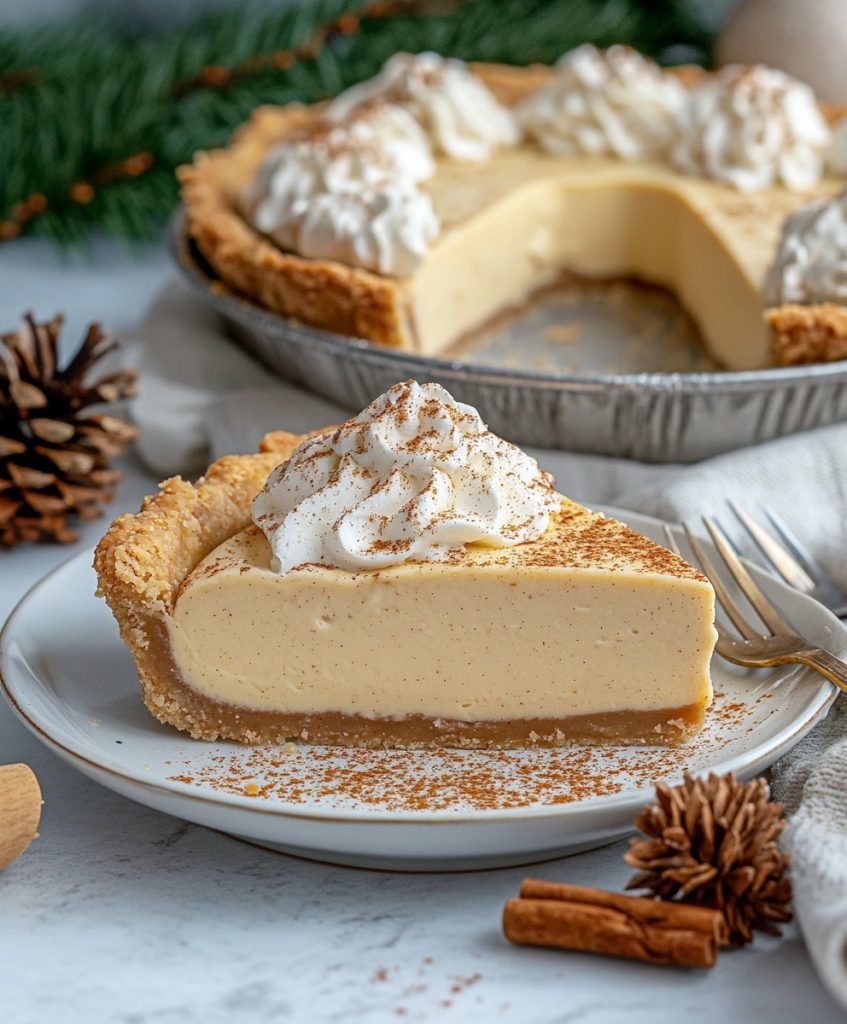
Step 5: Garnish and Serve 🍴
Before serving, top each slice with a dollop of whipped topping and a sprinkle of nutmeg. And there you have it! A festive, picture-perfect dessert with minimal effort.
Tips for Making the Recipe
- Full-Fat Eggnog Matters: For the right consistency and richness, always use full-fat eggnog. Lower-fat versions may result in a runnier texture.
- Give It Time: Don’t skip or skimp on the chill time. The filling needs those hours to fully firm up and be ready for slicing.
- Sweetness on Point: If you find store-bought eggnog too sweet, use homemade eggnog or adjust the pudding mix slightly.
How to Serve No-Bake Eggnog Pie?
Presentation is everything when serving No-Bake Eggnog Pie! Slice it neatly and place each piece on a festive dessert plate. Add a swirl of whipped topping on top, then dust lightly with ground nutmeg for a classic holiday vibe. If you want to make it even more special, serve it alongside a hot cup of coffee or mulled wine. Feeling fancy? Garnish with a cinnamon stick or a tiny gingerbread cookie on the side. 🎄
Make Ahead and Storage
- Refrigerating: You can prepare this pie a day in advance and store it in the fridge, covered, for up to 3 days.
- Freezing: Want to plan even further ahead? Freeze the pie without any whipped topping garnish for up to 1 month. Just thaw it in the fridge for a few hours before serving.
- Leftovers: If you have any leftovers (unlikely!), they’re still delicious the next day.