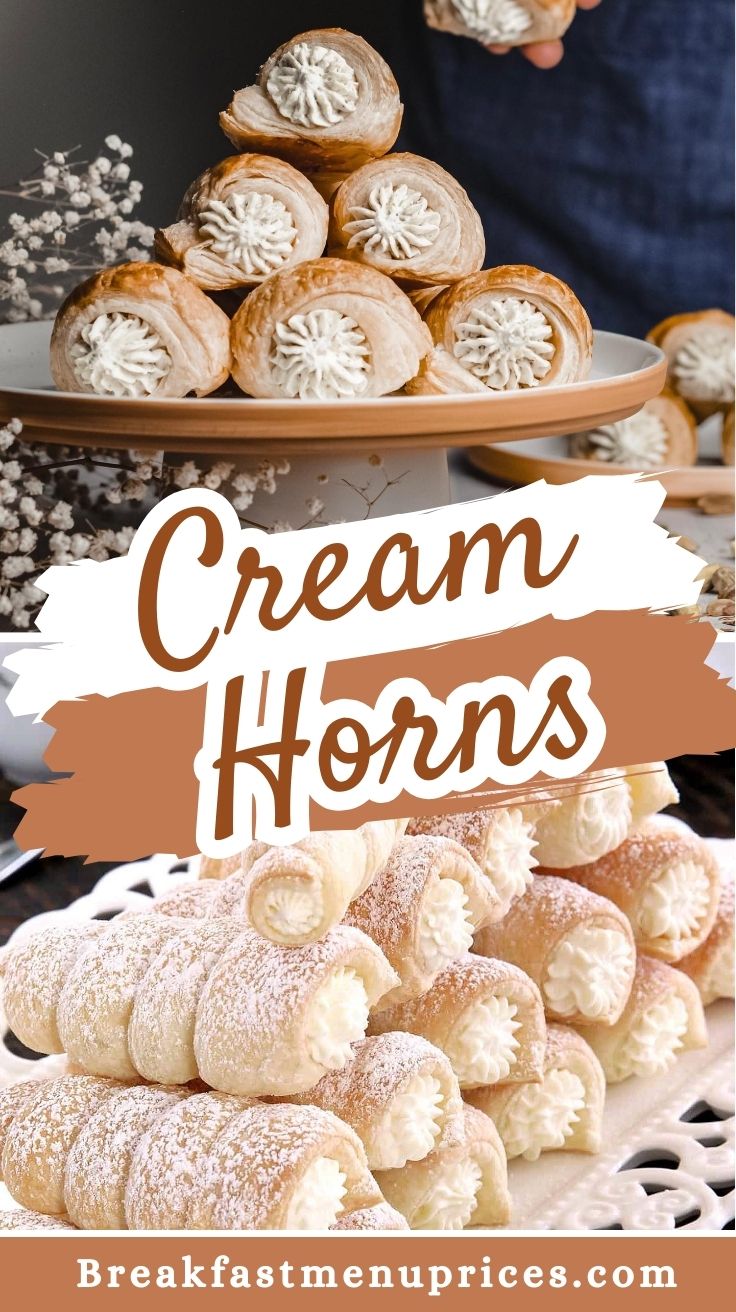
I still can’t believe how beautifully these cream horns turned out when I made them the other day! They’re flaky, golden, and the cream filling is soft and cloud-like, with just the right balance of sweetness. It was one of those recipes that seemed intimidating at first glance but ended up being more straightforward than I thought.
And the best part? Watching my family’s faces light up after the first bite. Trust me, there’s something magical about baking these little delights yourself instead of grabbing store-bought ones. Today, I’m walking you through how to make them at home with ease!

Why You’ll Love This Recipe?
Easy to Prepare and Fun to Make
Cream horns use simple ingredients and a few easy techniques, so even if you’re not a pro baker, you’ll feel confident whipping them up. Wrapping the pastry around molds is actually kind of therapeutic, and the result? Bakery-style treats right in your kitchen!
Flavor Customization
Want lemony cream, chocolate filling, or a classic vanilla combo? No problem. This recipe is like a blank slate where you can get as creative as you like. Adjust the sweetness, switch up flavors, or try fun decorations with the crust or filling.
Versatility for Any Occasion
These cream horns are perfect for everything from tea parties to dessert tables. Whether it’s a weekend treat or a fancy occasion, you can tailor them to fit your event with ease.
Lighter Than Store-Bought
With less sugar than the store versions, the cream horns have a balanced sweetness that doesn’t overwhelm. You’ll also feel great knowing exactly what’s in them!
Cooking Time
- Prep Time: 15 minutes
- Cooking Time: 15 minutes
- Additional Time (cooling/refrigerating): 50 minutes
- Total Time: 1 hour and 20 minutes
Ingredients
- 1 sheet frozen puff pastry, thawed
- 4 ounces cream cheese, softened
- 3 tablespoons white sugar
- 2 tablespoons lemon juice
- 1 tablespoon vanilla extract
- 1 (8 ounce) container frozen whipped topping, thawed
- 1 tablespoon confectioners’ sugar (optional)
Variations and Equipment
Ingredient Alternatives
- Replace cream cheese with dairy-free cream cheese for a non-dairy option.
- Swap white sugar with your favorite sugar-free alternative to make it diabetic-friendly.
- Add cocoa powder or coffee extract to the filling for a chocolatey twist.
- For a tangier filling, increase lemon juice slightly and add a pinch of lemon zest.
Equipment Needed
- Conical cream horn molds: Essential for shaping the dough. You can DIY these by rolling aluminum foil into cone shapes.
- Baking sheet: To place the molds for baking.
- Pizza cutter: Helps slice the pastry into even strips.
- Electric mixer: Quickly blends the cream filling.
- Pastry bag (or sandwich bag): For piping the cream neatly into horns.
How to Make Cream Horns?
Step 1: Prepare the Pastry
Start by preheating your oven to 400°F (200°C). Unfold the thawed puff pastry onto a clean surface and, using a pizza cutter, slice it into six even strips. Gently wrap each strip around a conical mold, starting from the pointed end and overlapping as you go. Place them with the seam side down on a baking sheet.
Step 2: Bake the Pastry
Pop the sheet in the preheated oven and bake the pastry horns until they turn golden brown and flaky, which should take about 12 minutes. 🥐 Once done, allow them to cool completely on the molds for around 20 minutes before carefully removing the molds.
Step 3: Whip Up the Cream Filling
While your horns cool, grab a mixing bowl and beat the softened cream cheese and sugar together using your electric mixer (medium speed for about a minute). Add the lemon juice and vanilla extract, then mix until fully combined. Now, fold in the whipped topping to make the filling light and airy. ✨
Step 4: Fill the Horns
Spoon the creamy mixture into a piping bag. If you don’t have one, a sandwich bag with a corner snipped off works just as well! Pipe the filling into each cooled horn until it’s nice and full. Dust the tops with confectioners’ sugar for an elegant finish. 🎉
Final Step: Chill and Serve
Refrigerate the cream horns for at least 30 minutes before serving. This helps the filling firm up and sets all the flavors together. Enjoy your little slices of pastry heaven!

Tips for Making the Recipe
- Keep the Puff Pastry Cool: Warm pastry can get sticky and hard to handle, so keep it chilled as much as possible.
- Go Easy on Lemon Juice: If you prefer a milder tang, reduce the lemon juice by half and adjust the sugar to balance the sweetness.
- Perfect Piping: If your cream filling is a bit too soft for piping, chill it for 10 minutes in the fridge for better consistency.
- Handle with Care: When removing the molds, be gentle to avoid tearing the delicate pastry.
How to Serve Cream Horns?
Cream horns shine on any dessert table! Arrange them neatly on a serving platter and dust them with powdered sugar or drizzle with melted chocolate for a fancy touch. Want to go the extra mile? Sprinkle colorful sugar pearls or edible glitter for special events! Pair them with coffee, tea, or even fresh berries for a complete dessert experience.
Make Ahead and Storage
Want to plan ahead? Cream horns can be made in advance with a few simple tricks. Here’s how to store them properly:
- Storage: Place them in an airtight container and refrigerate. They stay fresh for up to 3 days.
- Freezing (Unfilled Pastry): Bake the pastry shells and freeze them. When ready, thaw at room temperature and fill the horns as needed.
- Refrigeration Tip: If filled, ensure they sit firmly in a container so they don’t squash each other.
- Avoid Soggy Pastry: Fill the horns close to serving time if you want to keep the pastry ultra-crispy.